Streaming has become an integral part of modern entertainment, and a crucial element of any successful stream is a high-quality webcam. Whether you’re a beginner looking to start your streaming journey or a seasoned pro looking to upgrade, this guide will walk you through the essential steps to set up your webcam for streaming. From choosing the right equipment to optimizing settings, we’ll cover everything you need to know.
Why a Good Webcam Matters for Streaming
A high-quality webcam can make a significant difference in the overall viewer experience. Clear, sharp video feeds not only enhance the visual appeal of your stream but also help build a more engaging and loyal audience. Here are a few key reasons why investing in a good webcam is crucial:
- Improved Video Quality: A good webcam delivers clear, high-resolution video that is essential for a professional look.
- Enhanced Viewer Engagement: High-quality video keeps viewers engaged and coming back for more.
- Flexibility: A versatile webcam can adapt to different lighting conditions and environments, ensuring consistent performance.
- Credibility: Professional-quality video helps establish credibility and trust with your audience.
Choosing the Right Webcam
Not all webcams are created equal. When selecting a webcam for streaming, consider the following factors:
Resolution and Frame Rate
The resolution and frame rate of your webcam are critical for a smooth and high-quality streaming experience. Look for a webcam that offers at least 1080p resolution and a frame rate of 30 frames per second (fps). Higher resolutions like 4K and 60 fps can provide even better video quality, but they may require more powerful hardware and internet connections.
Field of View (FOV)
The field of view (FOV) determines how much of the area in front of the webcam is captured. A wider FOV is generally better for streaming, as it allows you to show more of your setup and surroundings. However, if you prefer a close-up view, a narrower FOV might be more suitable.
Lighting Sensitivity
Good lighting is crucial for a high-quality stream. Some webcams come with built-in features to improve performance in low-light conditions, such as backlit sensors or advanced image processing. If you stream in a variety of lighting environments, consider a webcam with excellent low-light sensitivity.
Connectivity
Most webcams connect via USB, but the type of USB port can vary. USB 3.0 and USB-C offer faster data transfer and better performance compared to USB 2.0. Ensure your computer has the necessary ports and that the webcam is compatible with your operating system.
Additional Features
Some webcams come with additional features that can enhance your streaming experience. These include:
- Privacy Shutter: A physical cover that blocks the camera when not in use, providing added security.
- Microphone: Built-in microphones can be convenient, but external microphones generally offer better audio quality.
- Mounting Options: Look for webcams with flexible mounting options, such as clip-on mounts or tripods, to position the camera exactly where you need it.
Setting Up Your Webcam
Once you’ve chosen the right webcam, it’s time to set it up. Follow these steps to ensure a smooth and professional setup:
Install the Webcam Software
Most webcams come with software that needs to be installed to access all features. Download and install the software from the manufacturer’s website. This software often includes settings for adjusting resolution, frame rate, and other parameters to optimize your streaming experience.
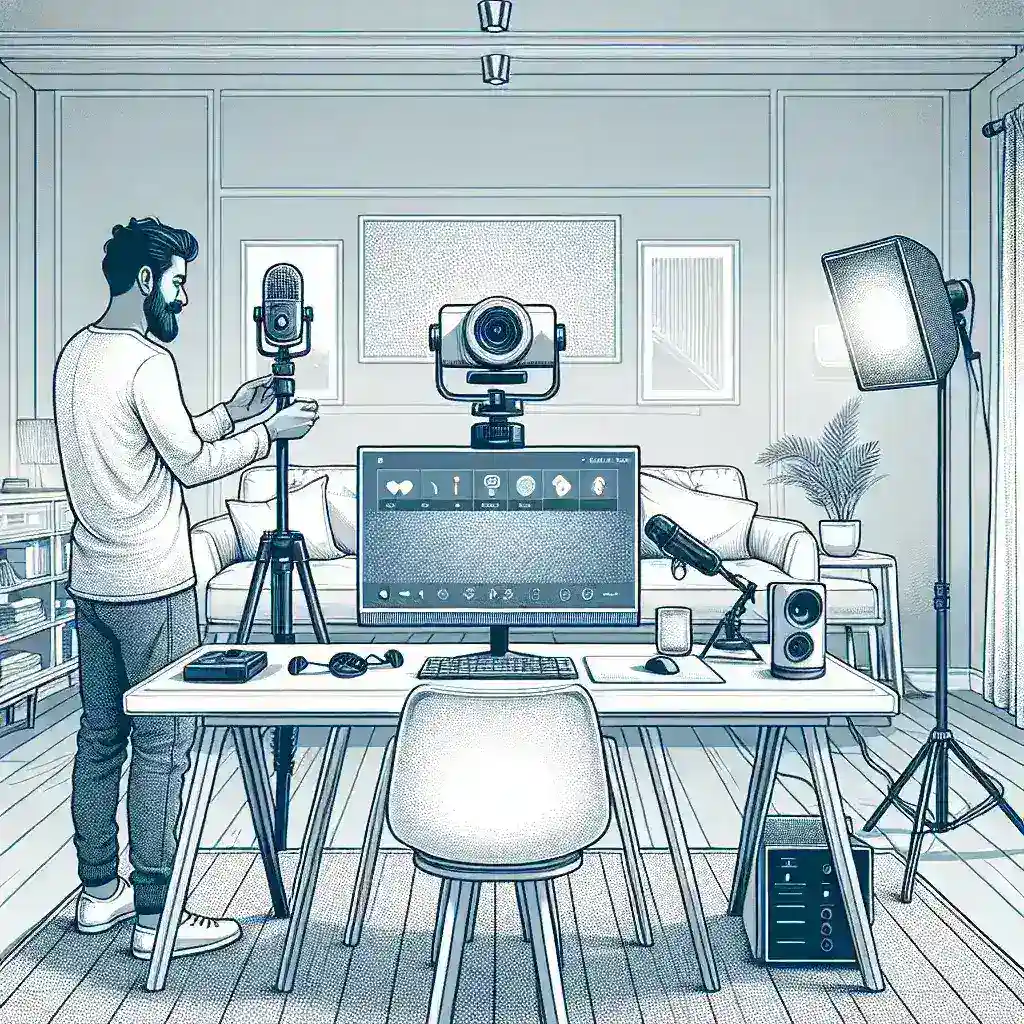
Position the Webcam
The position of your webcam can significantly impact the quality of your stream. Place the webcam at eye level to maintain a natural and engaging perspective. Ensure the camera is stable and won’t move around during your stream. Use a tripod or a clip-on mount to secure the webcam to your monitor or another stable surface.
Adjust Lighting
Good lighting is essential for a clear and professional-looking stream. Use a combination of natural and artificial lighting to create the best possible environment. Position your webcam in a well-lit area, and consider using additional lighting sources such as ring lights or softboxes to enhance the lighting. Avoid backlighting, as it can create shadows and make it difficult to see your face clearly.
Test the Webcam
Before going live, test your webcam to ensure everything is working correctly. Use streaming software like OBS (Open Broadcaster Software) to preview your stream and make any necessary adjustments. Check the video quality, frame rate, and lighting to ensure they meet your standards.
Optimizing Webcam Settings
Once your webcam is set up, you can further enhance your streaming experience by optimizing the settings. Here are some tips to get the most out of your webcam:
Resolution and Frame Rate
Adjust the resolution and frame rate settings in your streaming software to match the capabilities of your webcam. For most streams, 1080p at 30 fps is a good starting point. If your hardware and internet connection can handle it, consider increasing the resolution to 4K or the frame rate to 60 fps for a smoother and more detailed stream.
Exposure and White Balance
Exposure and white balance are crucial for achieving the best possible video quality. Use the webcam software to adjust the exposure to ensure the image is not too dark or too bright. Set the white balance to match the lighting conditions in your environment, ensuring that colors are accurate and natural.
Focus and Zoom
Some webcams allow you to manually adjust the focus and zoom. Use these settings to fine-tune the image and ensure that you are the main focus of the stream. Avoid overzooming, as it can distort the image and make it appear unnatural.
Background and Environment
The background and environment of your stream can significantly impact the overall look and feel. Choose a clean and organized background that is free from clutter. Consider using a green screen to add dynamic backgrounds or virtual sets to your stream. Ensure that the environment is well-lit and free from distractions.
Troubleshooting Common Webcam Issues
Even with the best setup, you may encounter some common webcam issues. Here are a few tips to troubleshoot and resolve these problems:
Webcam Not Detected
If your webcam is not detected by your computer, try the following steps:
- Ensure the webcam is properly connected to the correct USB port.
- Check if the webcam is compatible with your operating system.
- Install the latest drivers for your webcam from the manufacturer’s website.
- Restart your computer and try again.
Poor Video Quality
If the video quality is poor, try the following:
- Adjust the lighting in your environment to ensure it is well-lit.
- Check the webcam settings and adjust the resolution, frame rate, and exposure.
- Ensure your internet connection is stable and fast enough to support high-quality video streaming.
Interference and Lag
Interference and lag can be frustrating, but they can often be resolved. Try the following:
- Move the webcam closer to your computer to reduce interference.
- Close any unnecessary programs and background processes that may be using bandwidth.
- Use a wired connection instead of Wi-Fi for a more stable internet connection.
Conclusion
Setting up a high-quality webcam for streaming is a crucial step in creating engaging and professional-looking content. By choosing the right webcam, positioning it correctly, and optimizing the settings, you can ensure a smooth and enjoyable streaming experience for both you and your viewers. Whether you’re a beginner or a seasoned pro, following these steps will help you achieve the best possible results. Happy streaming!